As the use of three-dimensional digitisation technologies is adopted more frequently by commercial archeology companies and independent researchers, the number of 3D objects accessioned, ingested, and archived by the Archaeology Data Service (ADS) continues to grow.
This is part of why during archives week, the Curatorial And Technical Staff (CATS) decided to make the most of what access to a makerspace such as YorCreate can offer and find out if 3D printing could complement the digital preservation work they carry out at the ADS.
On Wednesday morning, CATS met at the JB Morrell Library on campus and went up to the first floor of the Harry Fairhurst building. At the YorCreate lab, Siobhan Dunlop gave a brilliant introduction to 3D printing as well as the equipment and supplies available to all staff and students interested in creating materials for study, research or simply to have fun.
The first task was going through information on health and safety, including some key rules, such as keeping windows open at all times and not leaving printers unattended. Afterwards we learned about the etiquette and culture at YorCreate, where every creator and creation is equal.
After that, we covered the basic process for creating 3D prints at the lab, which include: 1) creating or importing a 3D model, 2) slicing the model using the appropriate software, 3) booking a suitable printer, 4) loading the file onto a USB flash drive, 5) starting the print job, and finally 6) collecting the print!
As you can already imagine, this all sounds simpler than it really is. Once the Archivists were able to find and prepare 3D models for printing at the Creativity Lab (a multi-purpose space with access to a range of new and emerging technologies such as 3D modelling, VR, and 360 filmmaking), the real questions and issues started to arise. Luckily, Sam Hazeldine and John Downing were there to help with all our queries about making sure models are watertight or editing the number of supports, angle and overhang threshold when needed. In the spirit of learning by doing, every Archivist came back to the printers ready with models downloaded from Sketchfab, Thingyverse, and the ADS Archives.
Having chosen a machine, filament colour, and type of plate to be used, print jobs began -ranging from 10 minutes to four hours- and small reproductions of archaeological objects started to materialise inside the chambers of the Flashforges and Ultimakers.
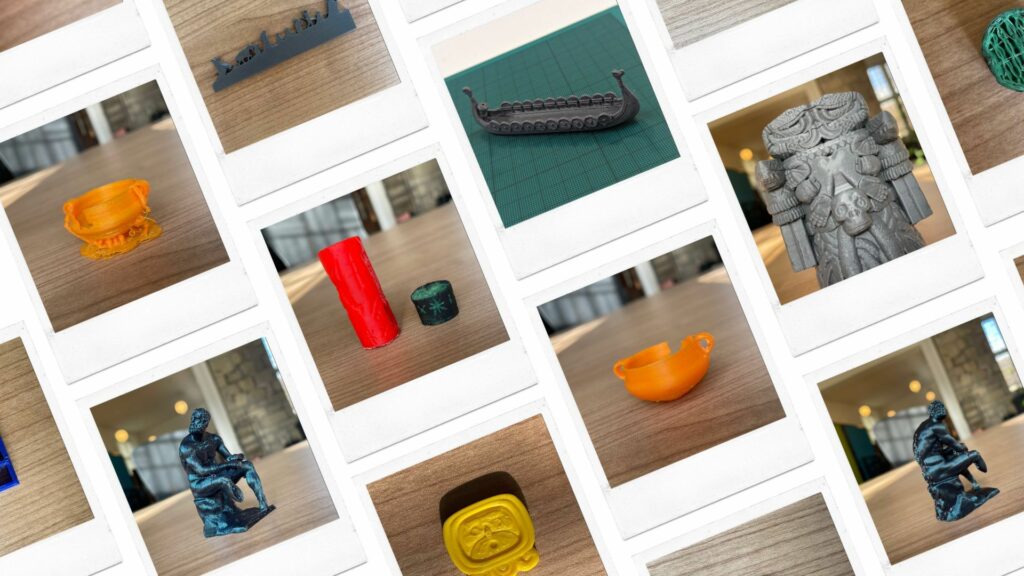
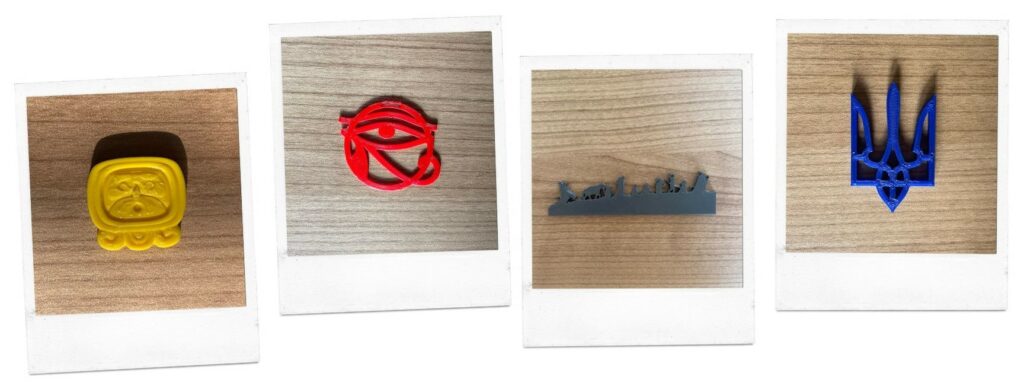
To first understand what the additive process would look like, we started by printing out small-scale objects. We watched the filament being deposited layer by layer, which allowed us to understand how the orientation, the infill density and the use of supports all play a role in what the final model will look like. We then moved on to slightly tweaking the settings needed to create more ambitious prints. Here are some of our creations:
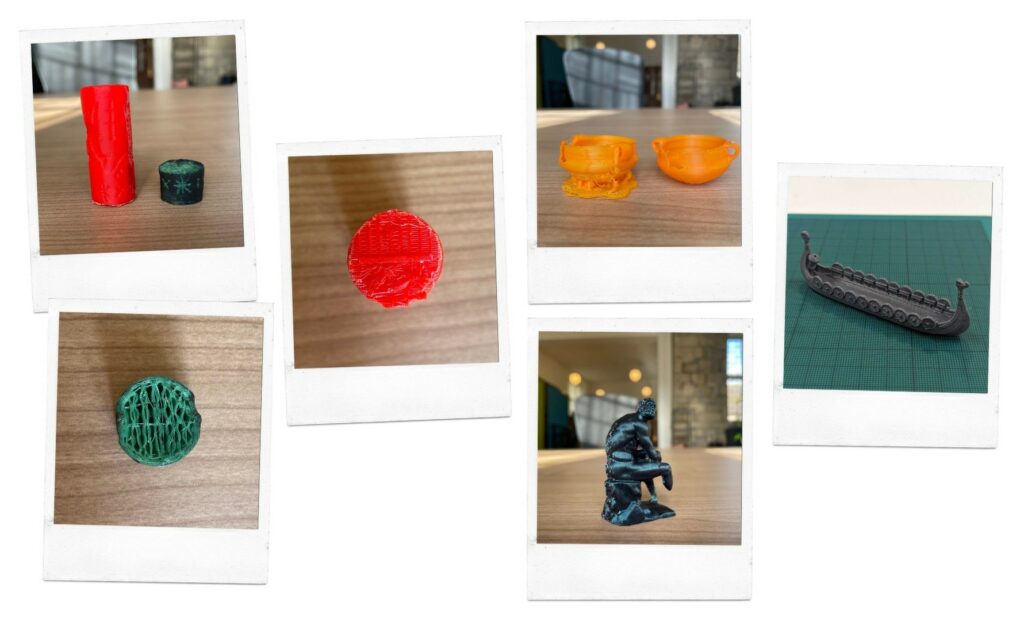
There is definitely a learning curve in understanding the mechanics behind 3D printing! And perhaps we can help you avoid some of the same mistakes we made, so here are our top tips for 3D printing at YorCreate:
- Complete the induction and validate you card to make sure you have the right permissions to access the space and feel confident using the equipment
- Pick the right printer. And remember to use the correct software to slice a 3D model in preparation for printing. Ultimaker printers will need models sliced in Cura, and Flashforge printers in Flashprint software.
- Water soluble supports. If the complexity of your print requires supports, you will need to use the Ultimaker.
- However, less supports will mean less material used and faster printing time. Try to reduce the number of supports and edit the angle to speed up printing.
Some of us were so impressed with the printers and what we learned that we returned during the weekend to do further creative work using the 3D printers. This is the mini Aztec goddess Coatlicue that I printed using the Ultimaker S5, which has a glass build plate that really helps the print stay in place during the process.
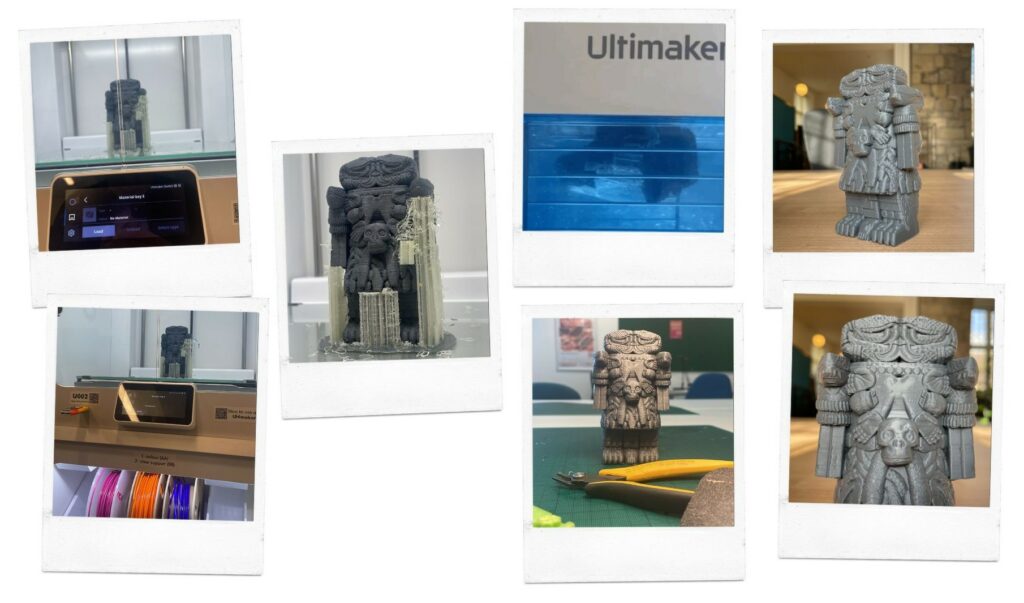
Ultimakers also have dual extrusion, meaning they can print in two different colours of PLA (a biodegradable material made from renewable materials like cornstarch that has a low melting point) or print in two different materials at once. I used a grey filament and opted for printing water soluble supports in PVA because the removal station seemed fun and I wanted to test it out.
I think this print really showcases the level of detail that can be achieved when a model with a complex mesh and decent resolution is printed using an Ultimaker. But I also have to warn you that the print job took more than 18 hours to complete!
Overall there is great potential in the different creative tools available at YorCreate, especially 3D printing, to expand on download options offered to users of the ADS website, use 3D printed objects from our archives and related collections for public engagement, and showcase our work.
We hope to continue collaborating with the team at YorCreate and the Creativity Lab to find new and exciting ways to encourage creative re-use of ADS 3D data among the established staff and student community who make use of these spaces.
So if you’re a 3D printing enthusiast or are curious about three-dimensional documentation of archaeological objects, why not have a look at our extensive collection of data rich project archives?
Some of my favourite collections with downloadable 3D models include: